A typical HVAC installation in Albuquerque follows a predictable sequence: a site visit and load calculation, equipment selection, preparation of the work area, removal of the old system, installation of new components, connection of refrigerant, electrical and drain lines, and finally testing and a walkthrough with the homeowner. Most replacements finish in a single day, though more complex projects can take two or three. Knowing the order of events, and what each stage requires from you, makes the process smoother, helps you spot quality workmanship, and keeps surprises to a minimum on installation day.
The work begins well before any equipment arrives. A reputable contractor will visit your home to measure rooms, inspect the existing equipment, check insulation levels, look at ductwork, and note where the indoor and outdoor units sit. This visit should include a load calculation, often called a Manual J, which estimates how much heating and cooling your home actually needs. Guessing from square footage alone tends to produce oversized equipment, which cycles on and off too frequently and wears out sooner.
In Albuquerque, the calculation should account for conditions specific to the region: an elevation near 5,300 feet, intense summer sun, large day-to-night temperature swings, and low humidity. These factors influence whether a standard split system, a heat pump, a dual-fuel setup, or an evaporative cooler paired with other equipment makes the most sense. Many local homes use refrigerated air alongside or instead of swamp coolers, and your preference should be discussed openly.
After the visit, you should receive a written proposal listing the equipment model numbers, efficiency ratings, scope of work, permit responsibilities, warranty terms, and total price. Take time to compare it against any other quotes. Ask about available utility rebates and federal tax incentives for high-efficiency heat pumps, since these can change which system is the better value over its lifetime. Once you approve the proposal, the contractor schedules a date, orders equipment, and pulls the necessary permits through the city or county.
For a straightforward like-for-like replacement of a split system, where the new furnace or air handler and outdoor condenser go in the same locations and the ductwork is sound, expect roughly six to ten hours. A crew of two to four technicians usually arrives in the morning and finishes by late afternoon. During that time your home will be without heating or cooling, so scheduling around extreme weather, when possible, is considerate to your family and pets.
Longer timelines apply in several situations. Switching fuel types, relocating equipment, adding a new zone, installing a ductless mini-split with multiple indoor heads, or replacing a rooftop package unit can stretch the work to two or three days. Extensive duct modification or a new electrical circuit may also add time, particularly if a separate electrician is involved. Homes with tight attic or crawlspace access, common in older Albuquerque neighborhoods, can slow progress as well.
Permit inspections are a separate consideration. Many jurisdictions require an inspector to verify the work, which may happen the same day or within a few days afterward. Your system can usually run once the installer completes startup testing, but the permit is not officially closed until the inspection passes. Ask your contractor to explain how inspections are scheduled and whether you need to be home for them.
Not always, but it is worth evaluating every time. Ductwork that is leaky, undersized, poorly insulated, or crushed in places can undermine even the best equipment. Installers typically inspect accessible ducts, check static pressure, and look for gaps at joints. Minor repairs such as sealing seams with mastic and adding insulation are common and inexpensive relative to the system. Full replacement is usually reserved for ducts that are damaged, contaminated, or poorly matched to the new equipment's airflow requirements.
Electrical needs depend on the equipment. A higher-efficiency air conditioner or heat pump may require a different breaker size, a dedicated circuit, a new disconnect near the outdoor unit, or updated wiring. Converting from a gas furnace to an electric heat pump with backup heat can demand a larger panel capacity than an older home provides. Your installer should verify that your panel can handle the added load and bring in a licensed electrician when the job calls for it.
Other possible upgrades include a new thermostat wire, a refrigerant line set, a condensate pump, a concrete or composite pad for the outdoor unit, and updated gas connections or venting. Because Albuquerque homes range from adobe-style builds to newer stucco construction, line routing and venting can vary widely. A good proposal itemizes these extras up front so the final invoice matches expectations rather than growing midway through the day.
Preparation is simple but makes a real difference. Clear a path from the front door to the indoor equipment location, and remove stored items, holiday decorations, and furniture from around the furnace, air handler, or attic access. Technicians need room to maneuver bulky equipment safely. Do the same around the outdoor unit by trimming back shrubs, moving patio items, and ensuring gates are unlocked. Secure pets in a quiet room, since open doors and unfamiliar people can be stressful for them.
Plan for the day itself. Expect noise, some foot traffic, and a period without climate control, so dress accordingly and consider scheduling during mild weather. Protect valuables near the work area, and let the crew know about fragile finishes or flooring. If anyone in the household has respiratory sensitivities, mention it ahead of time, because removing old equipment and disturbing duct dust can briefly affect indoor air. Confirm where the crew may park and whether you need to be present.
Finally, gather relevant documents. Locate warranty paperwork for the old system, any prior service records, and information about your thermostat or smart home setup. Photograph the existing equipment and nearby walls and floors, which can be useful if questions arise later. Make sure your electrical panel is accessible, because technicians may need to shut off power. A short conversation the day before to confirm arrival time and scope helps everyone start on the same page.
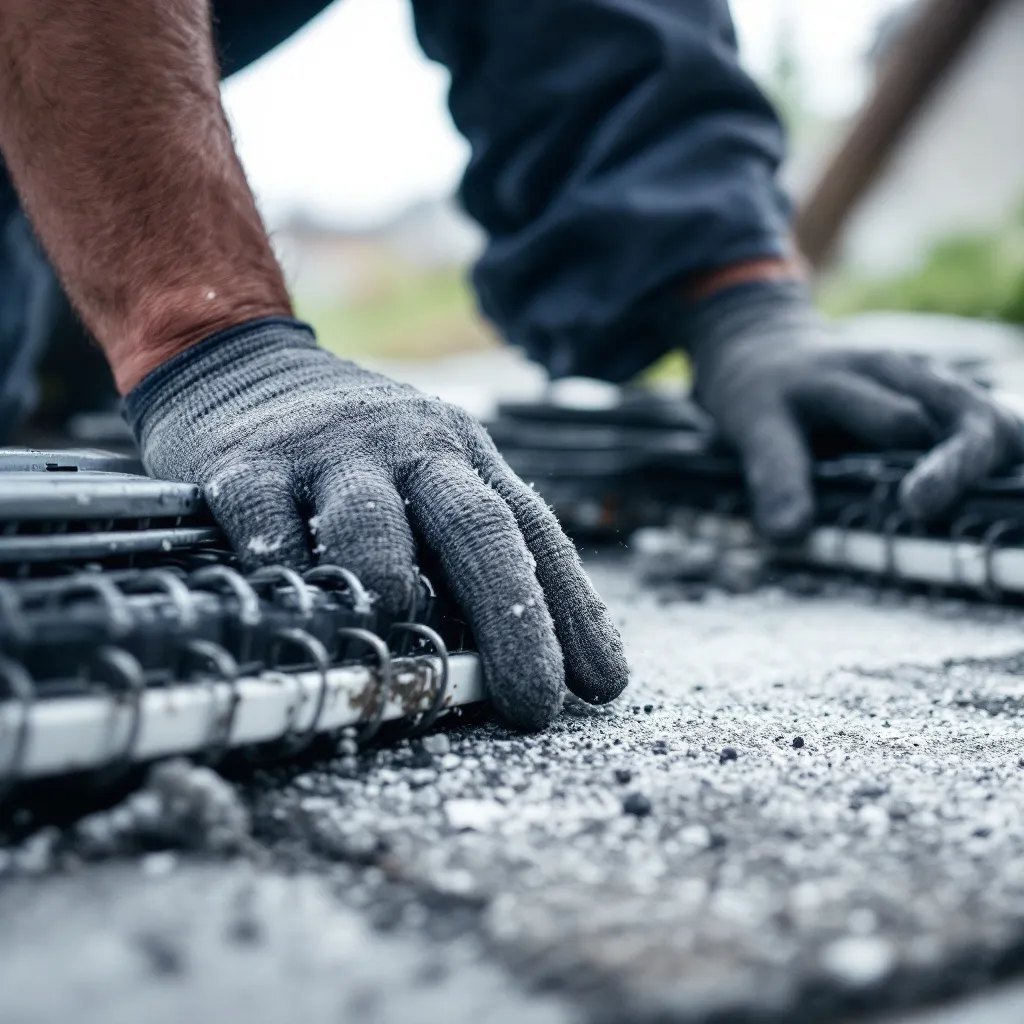
Once the crew arrives, they typically lay protective coverings, shut off power and gas, and recover the existing refrigerant according to federal rules. The old indoor and outdoor units are disconnected and carried out. Technicians then set the new indoor unit, level it, and connect it to the ductwork with sealed, properly supported transitions. The outdoor unit is placed on a stable pad, and a new or cleaned line set is connected, often with brazing performed while nitrogen flows through the lines to prevent internal oxidation.
Next comes a critical stage that homeowners rarely see. The installer pressure tests the refrigerant lines, pulls a deep vacuum to remove moisture and air, and then releases or charges refrigerant to the manufacturer's specification. Condensate drains, safety switches, electrical connections, gas lines, and venting are completed and checked for leaks. The thermostat is installed and programmed. Skipping a proper vacuum or charging by guesswork is a common reason systems underperform, so it is reasonable to ask how it was verified.
The final phase is commissioning. Technicians measure airflow, temperature split, static pressure, and amp draw, and confirm that the system cycles correctly in each mode. They clean up, haul away old equipment, and walk you through operation: thermostat settings, filter size and location, shutoff points, and maintenance expectations. You should leave with registration details, warranty documents, and a clear understanding of when to schedule your first tune-up, usually within the first year.
In the first days, pay attention to how the system behaves. It should start quietly, run in steady cycles, and deliver consistent temperatures from room to room. Listen for rattling, whistling at the vents, or unusual vibration from the outdoor unit. Check that the condensate line drains and that no water pools near the indoor equipment. Confirm the thermostat displays accurate temperatures and responds promptly. Small adjustments, such as balancing dampers or fine-tuning fan speed, are normal and typically handled at no charge.
Over the following weeks, watch your energy bills in comparison with the same period of the previous year, keeping in mind weather differences. A properly sized and installed high-efficiency system generally lowers consumption, though the change depends on the old equipment's condition and your usage. Replace or clean filters on schedule, especially during Albuquerque's spring wind and dust seasons, when filters load up quickly and restrict airflow.
Keep every document in one place, including the permit sign-off, equipment serial numbers, and warranty registration. Many manufacturers require registration within a set window to unlock extended coverage. Schedule routine maintenance at least annually, ideally before the cooling season begins, so refrigerant levels, coils, and electrical connections stay in good shape. If anything seems off after installation, contact the installer promptly rather than waiting; documented early concerns are easier to resolve under workmanship warranties.
Techvac 505 Air Conditioning of Albuquerque provides residential and commercial HVAC services in Albuquerque, including repairs, maintenance For professional help anywhere in Albuquerque, visit hvac.
☎Call (505) 542-5300 Techvac 505 Air Conditioning of Albuquerque